12 Products That Will Get You Started Flipping Furniture
Hello Friends!
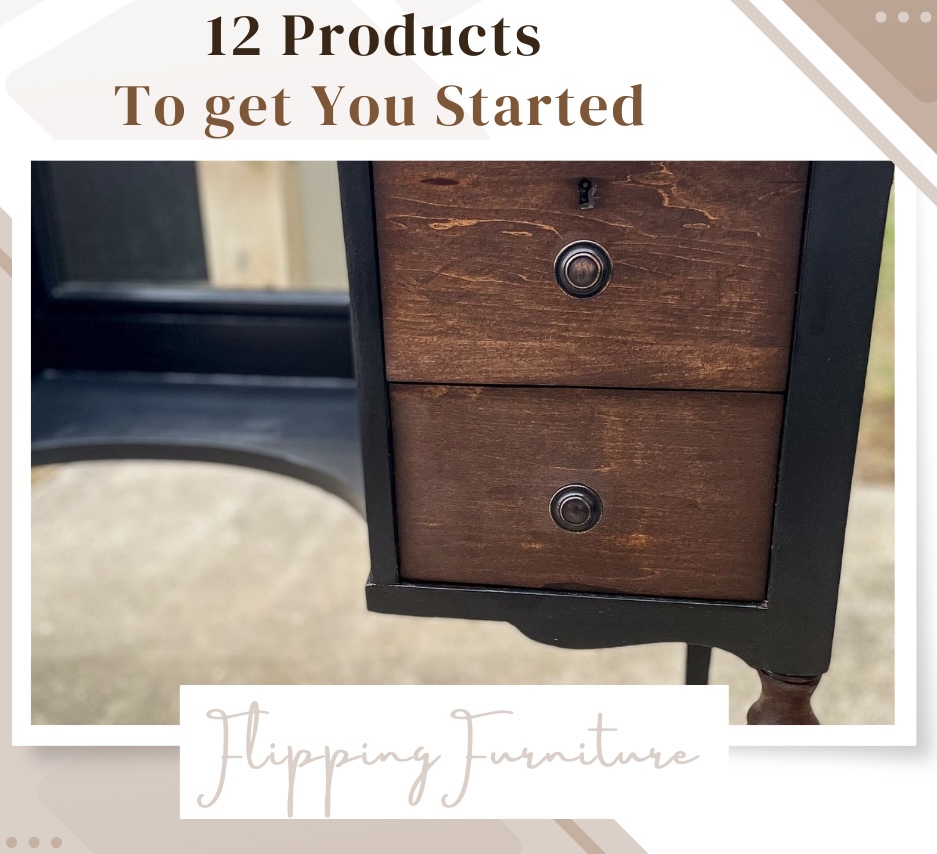
Have you been wanting to give that old furniture piece in your home a makeover, but didn’t know where to start? Or maybe you’ve wanted to try flipping furniture as a side hustle but were unsure of what to do. Here you will find a list of the top 12 products that I use when refinishing furniture.
When I started my furniture flipping adventure, I had no clue what essentials I needed. So, I bought everything I thought I might possibly need and then some. This cost me a lot of time and money. After I had a few projects under my belt, I started to see which products were the most useful.
Starting the process of making over any furniture piece can be overwhelming. I know it was for me! That’s why I have put together a list of the top 12 products that will help you turn whatever piece you may have, into a masterpiece!
* As an Amazon Associate, I earn from qualifying purchases and through other companies as well. You are not charged extra to use any of the links, but any income I make helps me create more amazing DIY projects and to keep this blog fresh! To see my full disclaimer, click here.
1. Sander

Having a good sander is a life saver! It is hands down my most valuable tool. Whether you are stripping paint, smoothing surfaces, or buffing the finish, a sander will get the job done. There is rarely a piece of furniture I work on that doesn’t get sanded at some point throughout the process. It’s a must! Don’t forget the sanding discs. I use 60 or 80-grit to strip, 120-grit to scuff sand, and 220-grit for a smooth finish.
2. Sanding Sponge

There are some places an orbital sander just can’t fit, and a sanding sponge can. These are also great for the more detailed or delicate pieces where you don’t want a lot of pressure while sanding. They are washable and reusable. You can use them wet or dry. I buy the multipack, so I have a selection of coarse sponges.
3. Cleaner/Deglosser

The first step I take when refinishing a furniture piece is to clean it really well. This particular cleaner has a no rinse, one step formula that cleans and deglosses, prepping the surface for paint. This cleaner works well at removing dirt, grease, grime, smoke, mildew, food stains, and wax from painted and unpainted wood, metal or vinyl.
4. Tack Cloths

Tack cloths are sticky, anti-static cloths that remove dust and fine particles from surfaces. Using a tack cloth prior to painting or staining insures a smooth, blemish-free finish.
5. Primer

There are several reasons for primming furniture before painting. If you are painting over a shiny, smooth surface, using a primer will give your paint something to adhere to. If you are planning to paint a lighter color over a darker color of paint, using a primer will keep you from using a ton of paint to achieve the color you want. Also, if you are painting over a stained surface, using a primer will help to eliminate any bleed through.
If you plan to use a white paint, then I would suggest the Zinsser BIN Primer instead. It has a shellac base which will keep your white paint white, but the fumes are much stronger because of the shellac. So, be sure and use it in a well-ventilated area.
6. High Quality Paint Brush or Paint Sprayer

The paint brush you use can make a huge difference in the end result of your furniture makeover. I have found these two brushes to be my all-time favorites.
First, is the Scarlet Dixie Bell Brush. It is made with high quality synthetic bristles and also works well for softening glazes and stains. It’s my go-to when painting with chalk-based paints. It is a more expensive brush, but the quality is well worth it and if you take care of your brushes they will last!
Next, is the Wooster 2″ Angled Brush. This brush is made with a synthetic blend that is good for all paints and water-based stains. Having an angled brush is great for reaching in those tight corners and the handle gives extra comfort and control. This brush is very affordable, so if you mess up and forget to clean it after your project is finished, no big deal! Just toss it and buy another.
Both brushes leave a smooth finish with minimal brush strokes which you will be thankful for, but for an ultra-smooth finish, I prefer to use my Wagner Sprayer. This sprayer is not only good for staining and sealing furniture, but also for use with water-based paints as well. This indoor/outdoor sprayer is budget friendly and will get you started on your own furniture flipping adventure in no time at all!
7. Chalk-Based Paint


I have used several types of paints throughout the years, and I will go over three of my favorite brands and what I like about each. It’s no secret that chalk-based paints are all the rage right now and for good reason. They require little prep work, they dry quickly, they cover amazingly well, and they are water-based for easy clean up!
1. My favorite chalk-based paint at the moment is Country Chic Chalk Style Paint. They have a wide assortment of colors, long lasting durability, dries within 30 minutes, and the best part they are self-leveling for a flawlessly smooth finish. Now the cost of this paint is on the higher side of chalk-based paints, but the quality is superb and well worth the cost. With my top three favorite colors being: Liquorish (a black), Vanilla Frosting (an off white), and Elegance (a light blue/gray).
2. Another chalk-based paint that I have used and would recommend for a more budget friendly project is Rust-Oleum’s Chalked Ultra Matte Paint. I have used the Linen White on several occasions and the Serenity Blue as well. I was pleased with its performance especially for the price. It is a thicker paint, so I will usually thin it down just a little with water to help with leveling and getting a smoother finish. Overall, it’s a good option.
3. Lastly, I have to mention Behr Chalk Decorative Paint. This paint is available at The Home Depot. It runs about the same price as the Rust-Oleum brand; however, it has a wider selection of colors. Currently Behr offers 45 colors to Rust-Oleum’s 25. So, if you have a particular style in mind, this might be the place to look with greater color options. I have also found this paint to be very durable and was pleased with its finish.
8. Spray Paint

Nothing gives an old furniture piece new life better than a fresh coat of paint and updated hardware! I’ve went over some of my favorite furniture paints, so now let’s talk hardware.
If you are looking for new hardware for your piece, Amazon has plenty to choose from. Depending on the style and quantity, the cost of new hardware can add up quickly. If you are looking for a way to spruce up your project on a budget, then I would suggest painting the original hardware instead of buying new.
This is something I have done numerous times and it really does make a big difference with little out of pocket cost to you. The most important part is making sure the hardware is clean and free of any oil or grime that might keep the paint from adhering well. After it’s clean, use a sanding sponge and scuff it up a little and it’s ready to paint. I’ve also done this with cabinet hinges as well.
9. Gel Stain

The stain I use most often, is Minwax Gel Stain in Walnut. Just as the name implies, this stain is in a gel form. It’s no-drip formula makes it ideal for staining vertical surfaces, but I use it for pretty much anything that I wish to stain. I find that it’s significantly less messy than regular stain. I apply it using a foam brush, wait 3 minutes, then wipe off any excess with a lint free cloth. After 24 hours it’s ready to seal. It’s really that simple!
10. Polycrylic Topcoat

Minwax Polycrylic Crystal Clear Topcoat is very durable and easy to use. It is a fast-drying topcoat that can be recoated after 2 hours and is good for regular use in just 24 hours. It is also water-based for easy clean up and non-yellowing. I use the clear satin finish for most of my furniture projects. If I’m going for a distressed farmhouse look, then I will use the clear ultra-flat finish. Keep in mind if you plan to use a water-based topcoat over an oil-based product, make sure you’ve allowed plenty of time for the oil-based product to dry before applying the topcoat.
11. Fast Dry Latex Caulk

If you work on furniture long enough, you will come across some that needs repairing. What I love about this silicone caulking is how quickly it dries. It is dry and paintable in just 30 minutes. I will use this caulking to fill in cracks, dents, and holes in the furniture pieces that I plan to paint. It sands easily and doesn’t show through the paint. I also picked up this caulking tool set that is super handy, but a putty knife works well too.
12. Lint Free Rags

These lint free rags are handy for just about everything when you’re painting, staining, or cleaning. You can also find them at your nearest retail store in the automotive section.
And that’s the basics.
If I can do this, I have all the faith that you can too! Make it fun and remember to give yourself grace. Practice makes perfect and we are usually our own worst critic. Let me know if you have any questions. I look forward to hearing from you!
NOW GO OUT THERE AND GET STARTED ON YOUR MASTERPIECE!!
-Lindsey
About The Author
Lindsey McKale
Lindsey grew up in a small town in North Central Arkansas. In her early adulthood, she moved to Missouri where she resides today with her family. She is a mother to 6 wonderful and crazy children and wife to Bobby. She has a great love for design, DIY, family, Jesus, and coffee. She started redesigning and refinishing furniture in 2017 and started the Beauty from Ashes Furniture & Home blog the beginning 2022. She hopes to inspire others to find their creative side and to see the beauty in everything.
Related Posts

DIY RAZORBACK TABLE FROM AN OLD CABLE SPOOL
Childhood memories. A few years ago, a friend gave me a wooden cable spool. It…
February 15, 2022
WHITEWASHED ARMOIRE-VIDEO TUTORIAL
A QUICK LITTLE WHITEWASHING TUTORIAL I love using chalk-based paints for whitewashing or colorwashing…
February 15, 2022